How can I view past correspondence in Editorial Manager?
Last updated on December 15, 2025
In most Editorial Manager (EM) journals, you can view all past correspondence sent to or from your user account. It is possible for journals to disable this feature. When the feature is enabled, any user can find a sortable list of all emails sent from their account, or to their account.
Submission-based corresponded history may also be available if enabled for any roles:
- Editors can generally view the correspondence history for any submission they have permission to view, depending on their permissions.
- Authors may be able to view their personal correspondence for a submission from the author menu, if enabled by the journal.
- Reviewers might be able to view correspondence history for pending and/or completed assignments, but it is disabled by most journals because it would be ALL correspondence, and thus reveal the identities of authors, other reviewers, and any other person who had been contacted about the submission.
How?
EM users can access their own full Correspondence History from their Update My Information page. This people-based Correspondence History includes most emails related to the particular user (sent to or by the user). Note that resending emails is not possible from this view.
To access your Correspondence History:
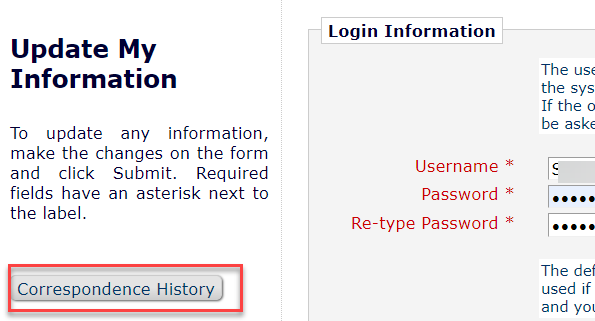
- Click 'Update My Information' in the top navigation bar. This opens your Update My Information page.
- Click the 'Correspondence History' button that appears in the left section of the page. This opens your Correspondence History pop-up window.
If the button does not appear, the feature has been disabled by the journal.
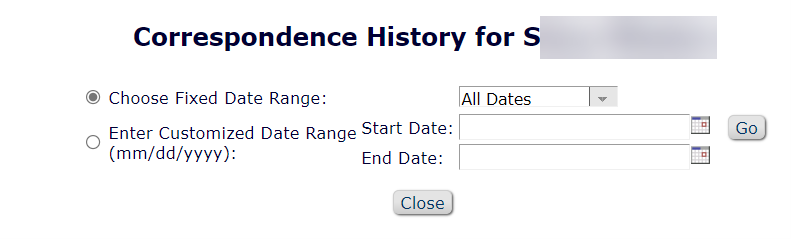
- At the top of the screen, you can enter a date filter . Click Go to apply the filter, or click Close to hide the filter box.
- Choose Fixed Date Range: Use the drop-down menu to select a range.
- Enter Customized Date Range: Use the calendar tools or enter start and end dates in the text boxes.
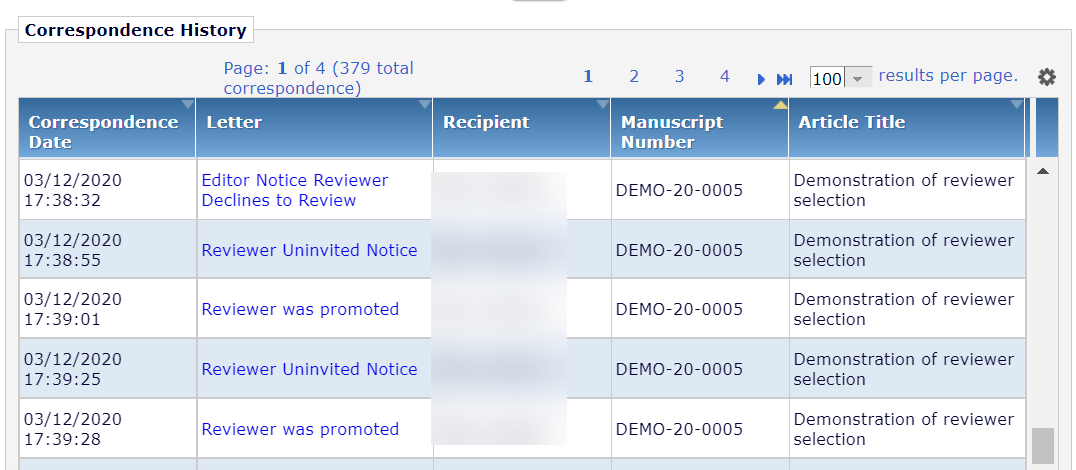
- The letters are displayed in a customizable Grid .
- Click and drag column headings to rearrange.
- Click and drag the border between column headings to resize a column.
- Click the Grid Options gear icon at upper right to hide or unhide columns.
- Click the arrow on each column heading to sort.
- Use the drop-down menu to select the number of items to display per page.
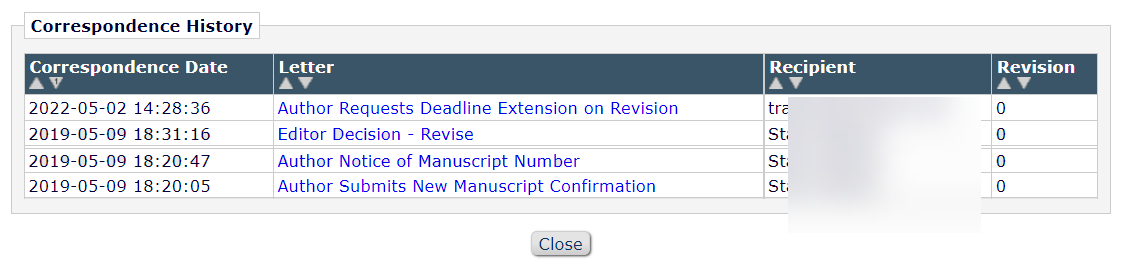
- The Letter name is displayed as a link to the body of the letter, clicking this will show the email itself.
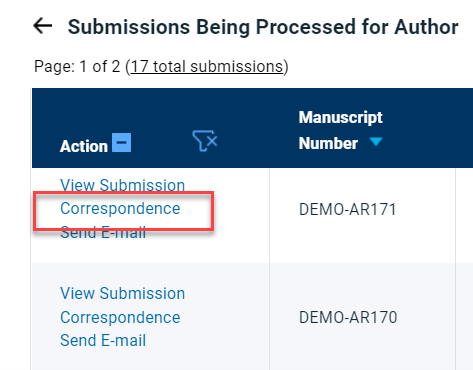
When viewing any menu folder in Editorial Manager authors may see a "Correspondence" Action Link. This may be hidden by the journal.
Authors will see only the correspondence sent to them or sent by them.
- Locate the submission record. See How do I find the manuscript I submitted to an Elsevier journal?
- Click the Correspondence action link to open the History window. In Correspondence History , the Letter name is displayed as a link to the body of the letter, clicking this will show the email itself. The table also shows the date recipient, and revision number.
- Click the linked letter title in the 'Letter' column to open an email.
- You can sort by using the arrows in column headings.
Most journals will hide Correspondence and Status history from reviewers, to preserve anonymization. You should still be able to see your own corresponded from your User record, but the submission-specific History link is disabled for most reviewers.
If the History link does appear in the Action list for your pending or completed review assignments, then clicking it may include a list of all past correspondence for the submission, just as it would for an editor.
- Locate the submission record. See How do I find a submission I was invited to review in Editorial Manager?
- You may see a Status History section first, scroll down past this to find the Correspondence.
- Click the History action link to open the History window.
- If the link is not present, then you do not have permission.
- Click the linked letter title in the 'Letter' column to open an email.
- Click the arrows on column headings to sort.
- The operator column shows the person who sent the letter, or in the case of an automated notice it shows the person whose action triggered the notice.
When viewing any menu folder in Editorial Manage, Editors with permissions will see a 'History' Action Link. This permission may be customized per journal and could include Status History and/or Correspondence History.
In Correspondence History, the Letter name is displayed as a link to the body of the letter, clicking this will show the email itself. The table also shows the date, recipient, and operator who sent the email, or who performed an action to trigger an automated email.
- Locate the submission record. See How can an Editor search for submissions or people?
- You may see a Status History section first, scroll down past this to find the Correspondence.
- Click the History action link to open the History window.
- If the link is not present, then you do not have permission.
- Click the linked letter title in the 'Letter' column to open an email.
- Click the arrows on column headings to sort.
- The operator column shows the person who sent the letter, or in the case of an automated notice it shows the person whose action triggered the notice.
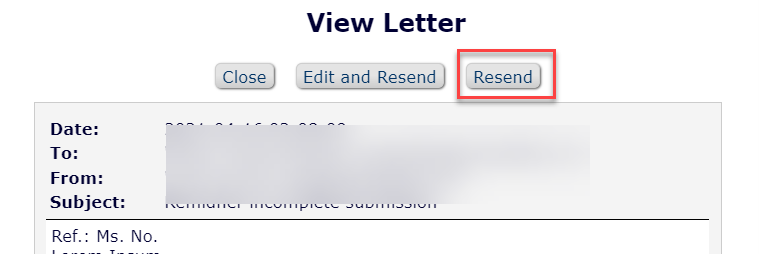
Any Editor with permission to view correspondence history may resend a letter to its original recipient(s); the View Letter page displays a Resend Letter button. Editor roles may be given additional permission to edit letters before resending. When an Editor has this permission enabled, the View Letter page includes an Edit and Resend button.
Information linked to user accounts, such as recipient email address, will automatically be updated when resending to match the current information in that user's account.
To resend a letter without editing
- Click the History link in the submission's Action column to open the History page.
- If the link is not present, then you do not have permission.
- In the Correspondence History section of the page, click the letter name/hyperlink of the letter to resend. This opens the View Letter page.
- On the View Letter page, click the 'Resend' button.
- If the button is not present, then you do not have permission.
- Recipient emails are automatically updated to match current account information.
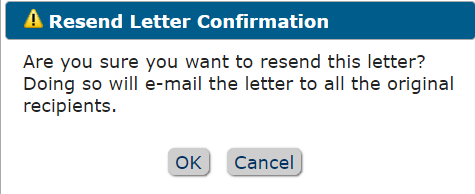
- In the confirmation pop-up window , click 'OK'.
- A message appears if the letter was resent successfully. Click 'OK' to close the message.
Some editors may have a second button 'Edit and Resend' in that case, the editor can make changes to the content of the email before resending. Contact your Journal Manager for more information about this option.
- Go to the View Letter page (as described for Resend).
- On the View Letter page, click the Edit and Resend button.
- If the link is not present, then you do not have permission.
- Recipient emails are automatically updated to match current account information.
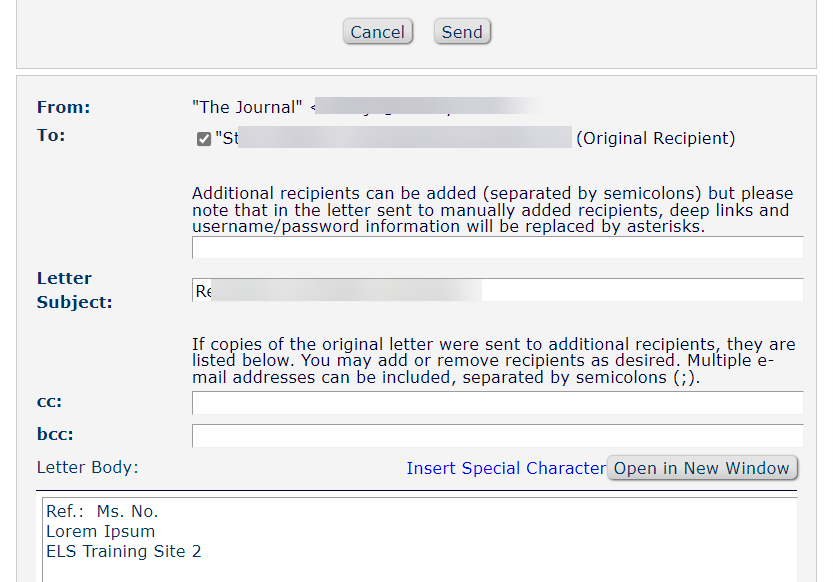
- On the Edit and Resend Letter page , you may edit recipients, letter subject, and letter body:
- Original recipient: Uncheck the box if you do not want to send the email to the original recipient.
- Update address: Click 'Update User's Address' to enter a new email address for the original recipient. (This link is available only to Editors with permission to update the email of other users.)
- Additional primary recipients: Enter email address (or multiple addresses separated by semicolons) in the text box under the original recipient's address.
- Copied / Blind-copied recipients: Add or delete recipients. Enter email address in the cc or bcc text box as appropriate. (Multiple addresses may be entered separated by semicolons.)
- Letter body: Make any corrections or additions in the letter body field.
- When finished, click 'Send'.
- `With Edit and Resend, there is no confirmation popup, the email is sent instantly.
Letters in the Decision family are not editable from Correspondence History. The View Letter page for these letters does not include the Edit and Resend button. Once sent, the decision letter cannot be changed; if the status allows then the decision may be Rescinded (undone) and a new letter sent.
To add an email to Correspondence History
Editors with appropriate permission can add external emails to the correspondence history of a submission. This can be used when the journal receives an email about a submission outside of Editorial Manager, and the editor wants to include that email in the submission record.
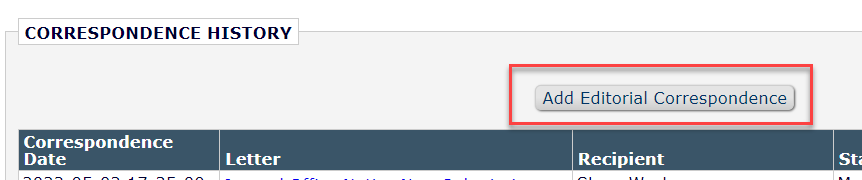
- Click the History link for the submission to open the History page.
- Click the 'Add Editorial Correspondence' button to open the Add External Correspondence page:
- If the button is not present, then you do not have permission.
- Complete the fields that determine how it will appear in history (required fields are indicated with an asterisk *).
- To allow the Author access to this item, check the box next to the setting, Display in Author's Correspondence History.
- If the journal has not disabled the feature, the letter will appear in the author's personal correspondence history in their user record.
- If the journal allows author to see a submission correspondence link, the letter will be included there as well
- Fill in the correspondence date and timestamp, which will help sort the letter into the history.
- Fill in the Description, this text will be the clickable link in the "Letter" column of the history.
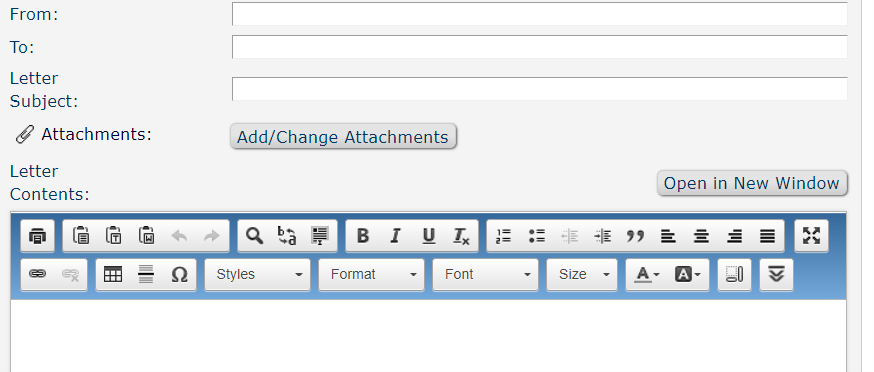
- Copy the details of the external email into the remaining fields :
- Fill in the To, From, Subject and Letter Contents (body).
- Note if you leave the Letter Contents blank, then the letter will not be hyperlinked in the history list; when there is no content, there is nothing to open.
- Editors with appropriate permission may also attach files: Click 'Add/Change Attachments' button to open the Attachment window, then choose or drag/drop the file, and click 'Proceed'.
- When finished, click 'Submit'. The external email now appears in the history seen by editors, and if selected for the author as well.
- Added external emails have nothing in the Recipient, status, or Revision columns as they were not sent by the system.
- For editors with permission to add external email, the added letter appears with links to Remove or Edit.
- For editors without permission to add external email, the added letter has only the usual link to open and read the letter.
- Added external letters do not have resend buttons.
Did we answer your question?
Related answers
Recently viewed answers
Functionality disabled due to your cookie preferences