How do I manage Permissions in Elsa?
Last updated on July 18, 2025
Permission to reproduce copyrighted figures, boxes, and tables must be obtained prior to publication.
For detailed information about Elsevier permissions guidelines, visit the Elsevier Permissions Hub.
You will enter your permissions information in Elsa via the Permissions pane and upload any necessary licenses on the Permissions Files tab. For further clarification related to securing Permissions, please reach out to the Permissions HelpDesk here
To start the permissions process in Elsa:
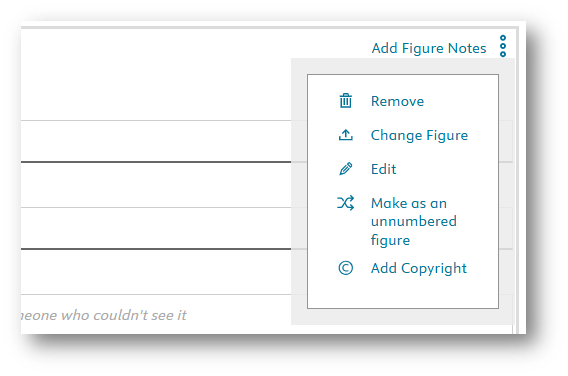
- Click into the figure, box, or table
- Select the three dots icon in the corner of the item
- Select "Add Copyright"
- The permissions pane will open on the right side of your screen.
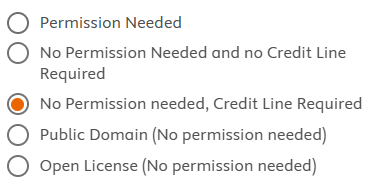
Select which option applies to the object for which you need to enter permissions:
- Permission needed – Choose this if permission is needed and to create a credit line.
- No Permission Need and no Credit Line Required – Choose this if there is no need for permission or a credit line.
- No Permission needed, Credit Line Required – Choose this if no permission is needed but a credit line is required.
- Public Domain (No permission needed) – Choose this if an object is public domain and no permission is needed, a credit line will still be required.
- Open License (No permission needed) – Choose this if the object is open access and no permission is needed, a credit line will still be required.
Further clarification on what requirements apply to your object can be found here on the Elsevier Permissions hub.
- Fill in the appropriate fields in the permissions pane. Be careful to scroll down to ensure all fields are filled in, including the Credit Line and Permission Status dropdown if permissions are required. You will enter your credit line in the open text field in the permissions pane.
- If you need to make changes, just click on the object’s credit line or click into the figure, box, or table, select the three dots icon in the corner of the item, and then select Add Copyright. Update your changes as needed.
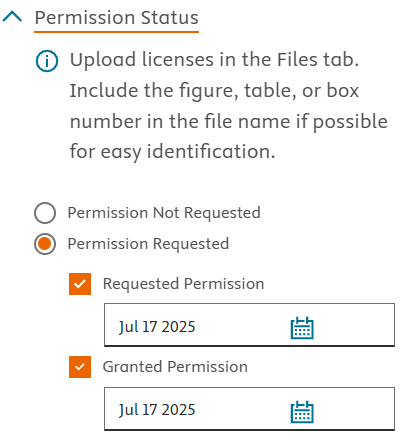
If you are still receiving an alert indicating permissions are needed after entering permissions for each required item, check the Permission Status dropdown.
Here is how to do this:
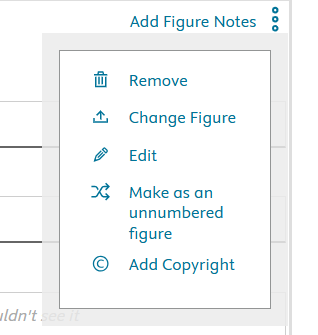
- Click on the three dots next to the item
Select "Add Copyright"
Click the "Permission Status" dropdown and complete the fields under “Permission Requested”
If permissions are not required for that item, choose an option from the top of the pane indicating this such as No Permission Needed and no Credit Line Required or Public Domain.
Once you have obtained licenses for any of your Figures, Tables, and Boxes, you can upload the licenses to the 'Permissions Files' tab.
To access the Permissions Files tab, make sure you are editing your chapter and then click on ‘Permissions Files’ above the top tool bar .
Once you are in the Permissions Files tab, click on ‘Upload’ and follow the onscreen prompts to upload your licenses.
If possible, try to include your Figure, Table, or Box number in the file name for easy identification. Figures, Tables, and Boxes will automatically number when they are called out in the chapter. For more information on how to use callouts, see this help article: What are callouts and how do I use them?
Did we answer your question?
Related answers
Recently viewed answers
Functionality disabled due to your cookie preferences