How do I insert figures in Elsa?
Last updated on February 05, 2026
Supported File Formats & Size Limit
Elsa allows you to upload figure files in the following formats:
- JPG
- TIFF
- PNG
- EPS
- CDX
- Each file must be 100 MB or smaller, and the total size of all files uploaded at one time must not exceed 100 MB.
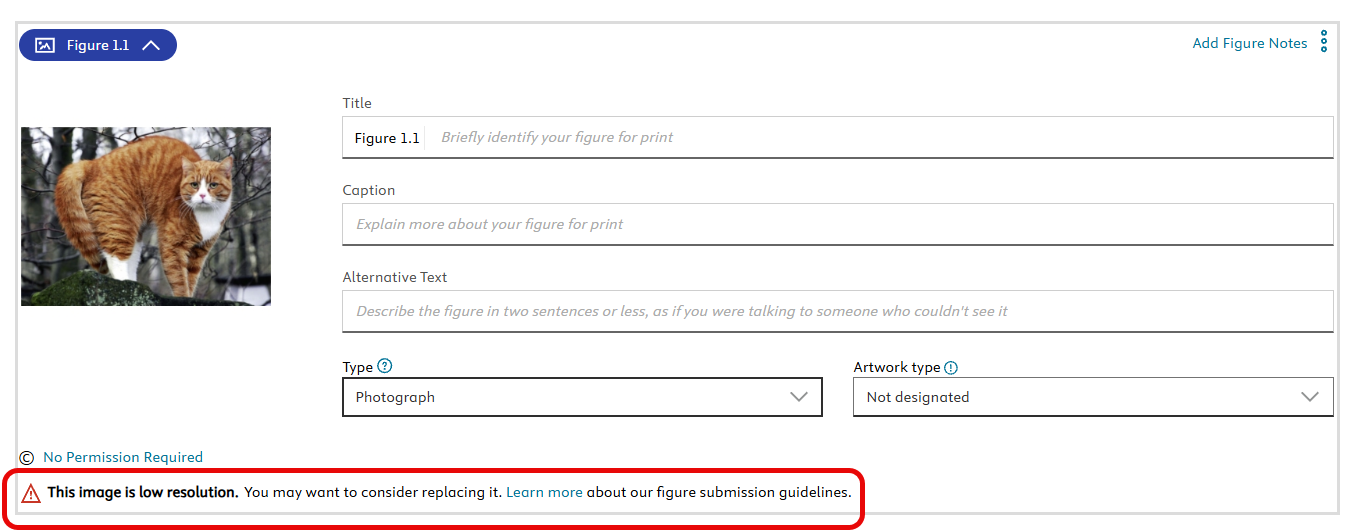
- Photographs submitted for publication should be a minimum resolution of 300dpi
If the Image Resolution Check is enabled for your project, you’ll see an alert when a figure or photo does not meet the required resolution.
To resolve this, replace the file with a higher-resolution version, or contact your Content Manager if the current figure or photo must be used.
Inserting a Figure
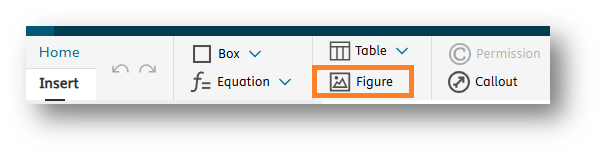
- Place your cursor where you want the figure to appear in your chapter.
- Navigate to the Insert section of the toolbar and click the "Figure" icon
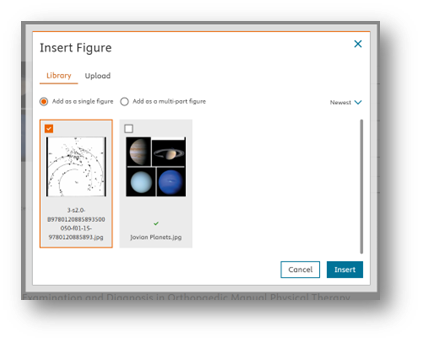
- Upload a new figure to your figure library on the Upload tab or choose a figure already in your library from the Library tab
- If you uploaded a new figure to the library, then navigate to the Library tab and select the figure
Click "Insert"
If a figure has already been placed in the chapter, it will have a green checkmark beside it.
Editing an Inserted Figure
Once the figure is inserted:
- You'll return to your chapter.
- There, you can:
- Add a Title.
- Write a Caption.
- Insert Callouts (if needed).
- Add Permission details for copyrighted content.
- Note that alternative text is created by Elsevier and is not required for you to input
If you need to upload a new Figure or Figures, place your cursor in the text where you would like the Figure to appear, then click on the ‘Add Figure’ icon in the top toolbar. When the ‘Insert Figure’ screen appears, click on ‘Upload’.
From the Upload screen, you will see the file requirements before uploading your Figure. Elsa supports JPG, TIFF, PNG, EPS and CDX files no larger than 100MB. Click 'Browse'.
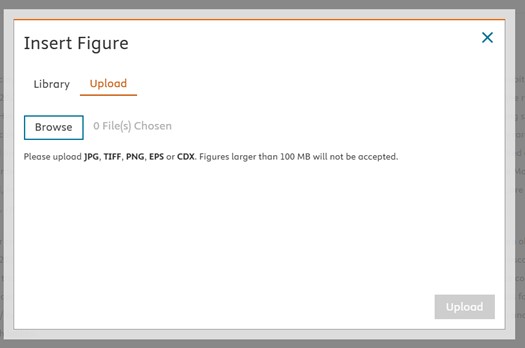
The file name for the Figure or Figures you have chosen from your computer will appear here. To upload, click "Upload".
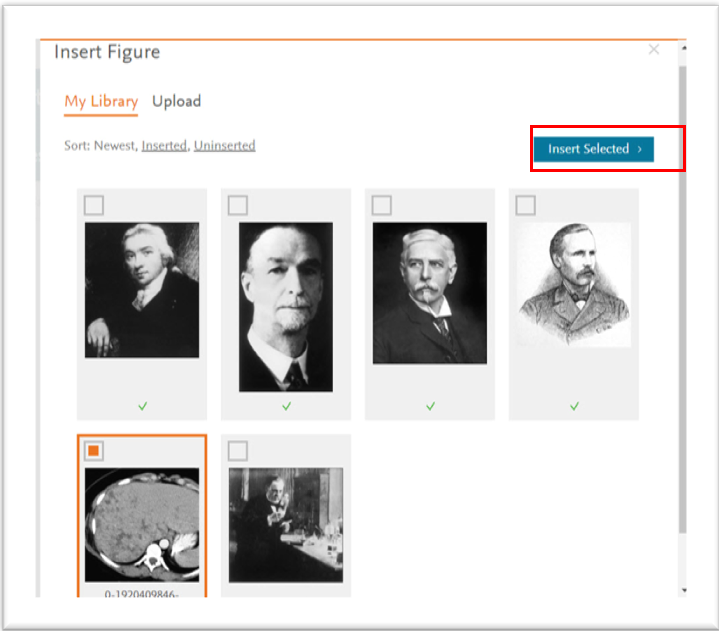
You will be taken back to your Figure Library and the new Figure or Figures you uploaded will appear. The new Figure or Figures will be selected by default. To insert into your chapter, click 'Insert Selected'.
Note: It’s important to remember that the placement of Figures is dictated by the print layout chosen for the project. In print, the Figure will not necessarily appear where you inserted it in the text, but will be placed in the best position to fit the print template.
When you insert a new figure, it will default to being numbered 0.00. You will then need to re-insert the figure callout (a callout is the in-text citation, see What are callouts and how do I use them?) in order to re-number it and have Elsa automatically re-number the subsequent figures. Before deleting a figure, it may help to mark where the callout was previously as deleting a figure will also remove its callout.
To re-number your figure:
- Find where you would like to place your callout in the text
- Navigate to the Insert tab of the toolbar
- Click the callout icon
- Select the figure you would like to cite (Tip! If your figure does not have a title, it may help to add one to identify it in the Figure window)
- Click Insert
Your figure and all subsequent figures should then be re-numbered.
To move a figure, you can cut and paste it using keyboard shortcuts into the desired location.
To re-number the figure, you will then want to navigate to the Insert tab of the toolbar and select Callout to re-insert the callout (see also What are callouts and how do I use them? ). After entering the callout, Elsa will automatically re-number the figure accordingly.
Please note that, at this time, any existing permissions information will need to be re-added to the figure after moving or changing the figure.
Note: when changing a figure, you will need to re-enter the permissions information and callout so we recommend highlighting where the callout is placed in the text with the yellow highlighter first and copying and pasting your permissions information in a separate document if these same permissions will apply to the new figure.
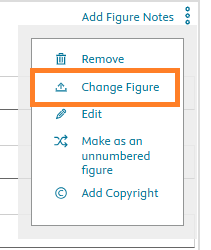
- Click on the More Options menu of the figure
Select "Change Figure"
- Upload your new figure to the figure library if needed and then select the new figure
- Click insert
- Re-enter the callout and permissions information as needed
Note: Once you delete a figure, all subsequent figures will automatically be re-numbered.
To delete a figure from the Write space:
- Either click into the white area of the figure and press the delete/backspace button on your keyboard
- Or navigate to the corner of the figure, select the three dots icon, and click Remove from the drop-down menu
To delete figures from the figure library
Navigate to the Figures tab

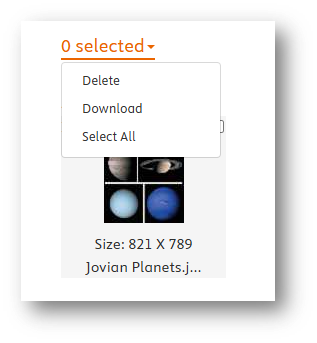
- To delete a select number of figures, click the checkbox in the corner of the figure(s)
- Click the carrot icon above the word "Display”
- Click "Delete”
To delete all figures in the library, click the carrot icon, choose Select All on the dropdown menu and then navigate back to the same menu and click "Delete”
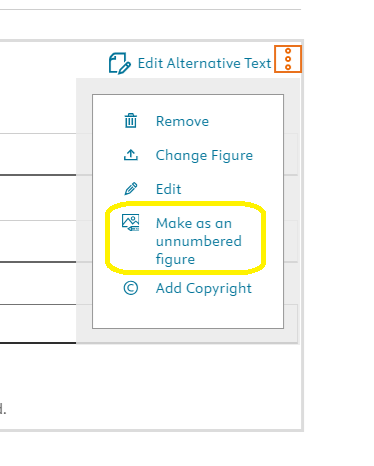
Unnumbered figures are those figures which do not require an in-text callout. To create an un-numbered figure, insert a figure as normal and then click on the ellipsis icon next to the figure and select “Make as an unnumbered figure”. The pill on the left-hand side will then change to reflect the new figure type.
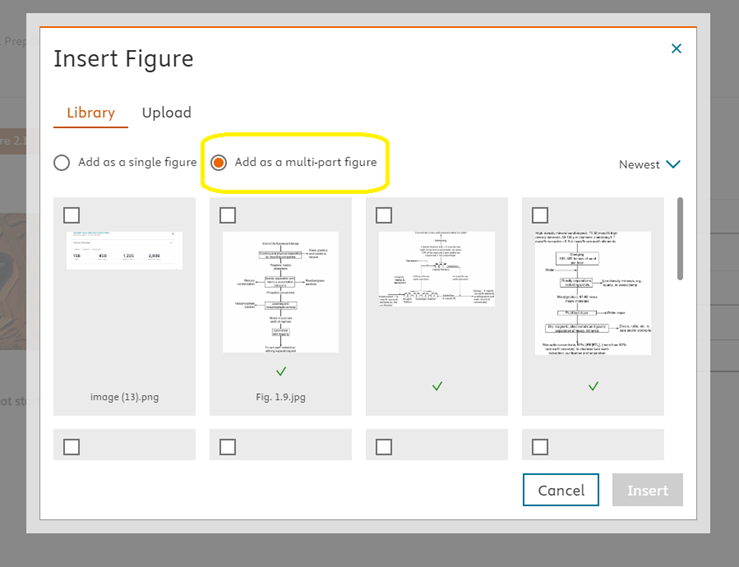
Adding a multi-part figure allows you to create a new figure composed of multiple different figures. To do so, navigate to the Insert section of the toolbar, click “Figure” , either upload your figures or select existing figures from your library and then select the “Add as multi-part figure” radio button.
Did we answer your question?
Related answers
Recently viewed answers
Functionality disabled due to your cookie preferences