How do I create and edit tables in Elsa?
Last updated on February 02, 2024
Our table editor lets you create tables directly in the write space.
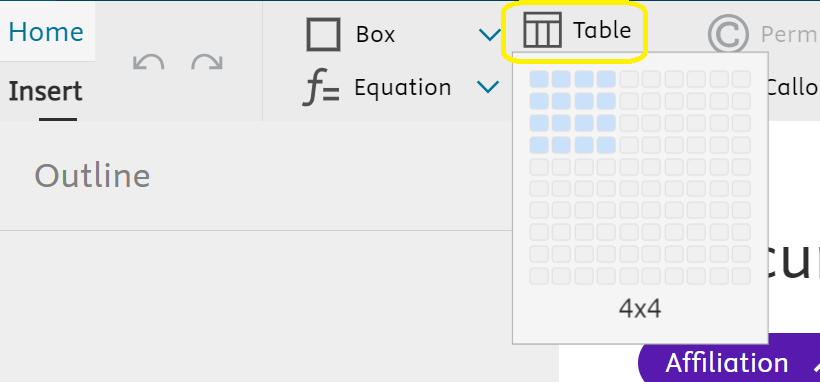
Click the ‘Insert Table’ button in the toolbar to create a table outline with as many rows and columns as you need. Use the table builder toolbar to edit the table.
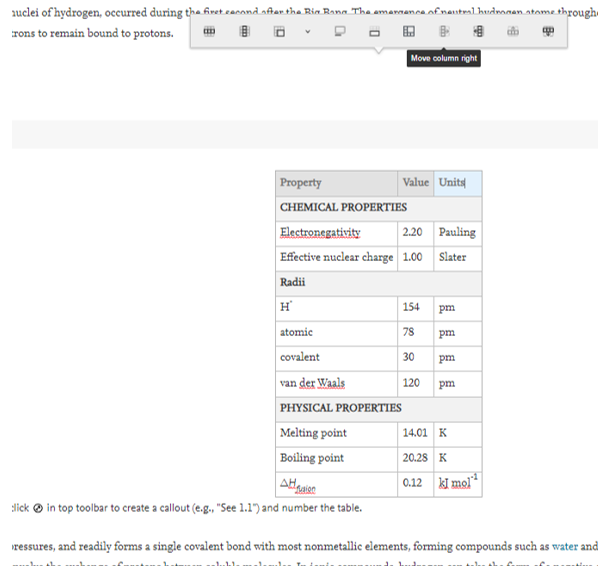
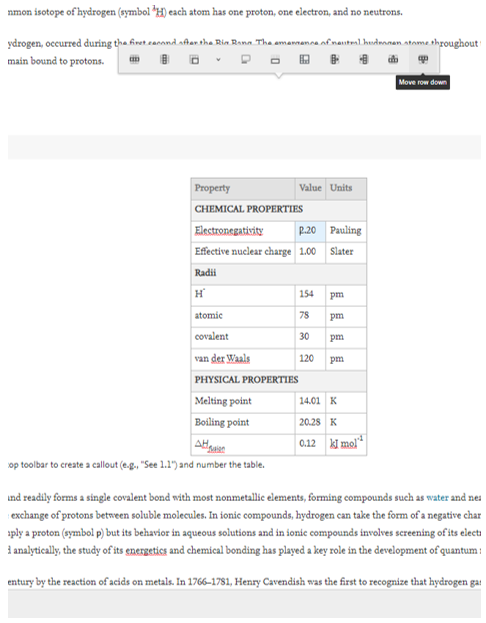
For example, the table toolbar includes Row and Column buttons with options to insert, delete, or select rows and columns. You can move rows and columns in the table, change table width, insert headers, and merge or split cells. Hover over a button on the toolbar to see what it does.
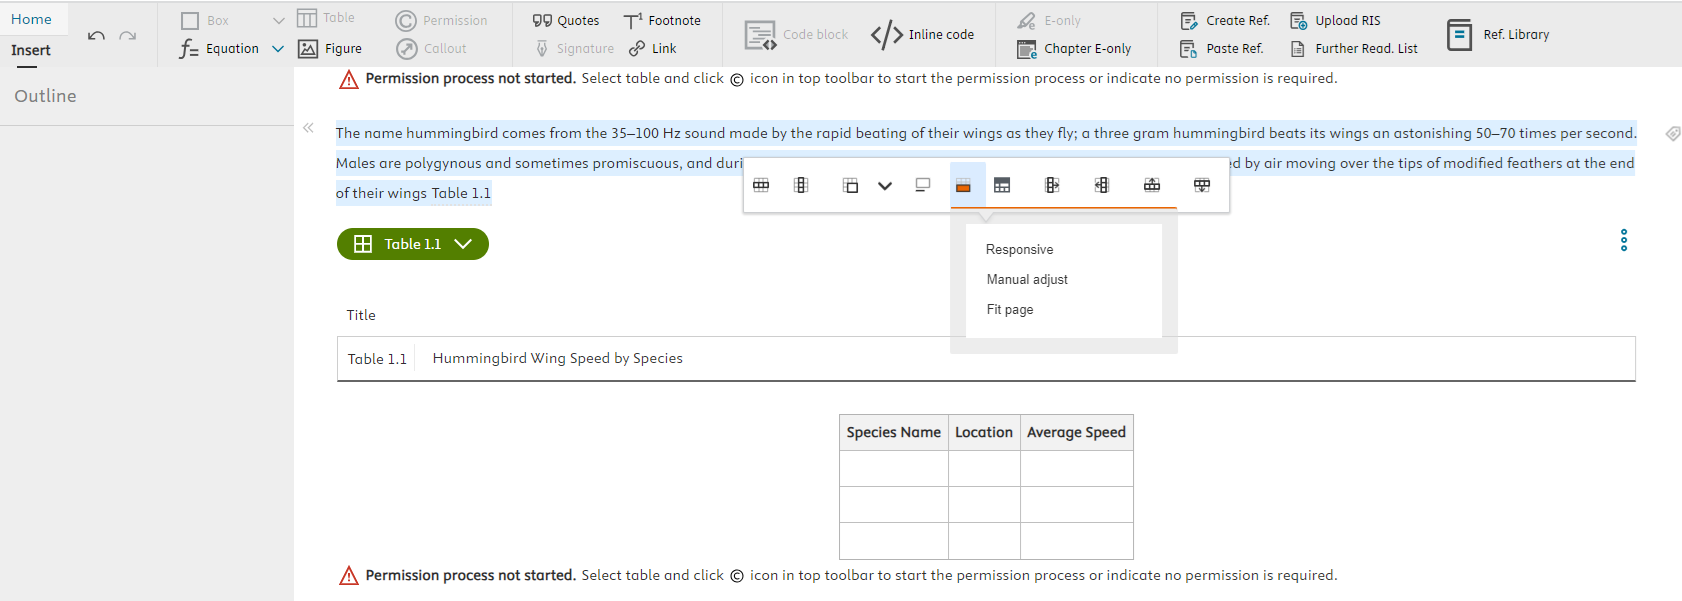
How to adjust table width:
- Click into any cell on the table
- Click on the Set table width icon on the table editor toolbar
Select responsive, manual adjust or fit page

- Responsive table width adjusts the cell sizing automatically as you type.
- Manual adjust allows you to slide the cell dividers so you can adjust the cell sizing directly.
- Fit page sets the table width to the largest option that will fit on the page.
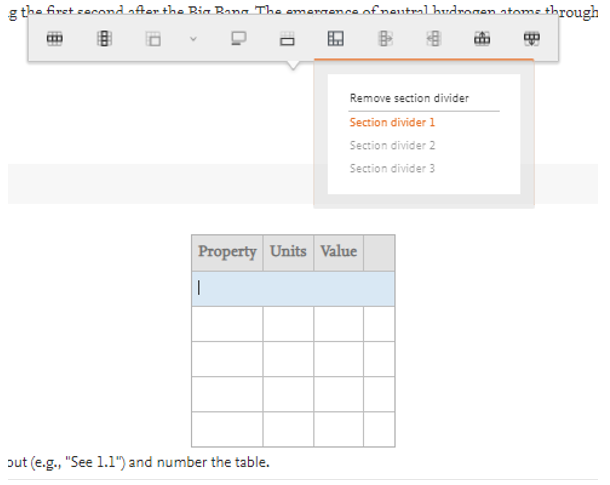
Insert section dividers:
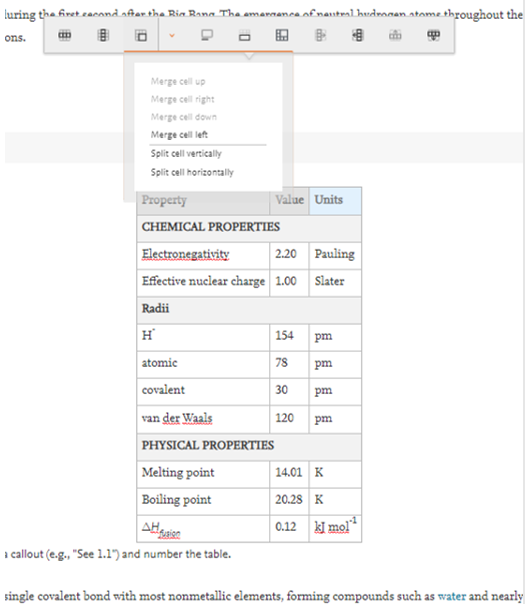
Merge or split cells:
Move columns:
Move rows:
- The table editor supports figures inside tables. To insert a figure, click inside your table cell and then click the ‘Add Figure’ icon in the toolbar.
- The table editor also supports reference citations within the table, and inserting equations.
- Tables created in MS Excel or MS Word can be pasted directly into the write space.
Did we answer your question?
Related answers
Recently viewed answers
Functionality disabled due to your cookie preferences