How do I use track changes in Elsa?
Last updated on March 25, 2026
Track changes is a powerful collaboration tool in Elsa, giving users the ability to see content changes made in their chapters and to accept or decline those changes.
Note: Track Changes is enabled by default for Clinical Overviews. Content Managers can also enable this feature for other content types through the Project Settings, if required.
Track changes must be turned on in each individual chapter by users.
Click on the ‘Track Changes’ icon in the top toolbar to turn track changes on. When track changes is turned on, the icon will become greyed out.
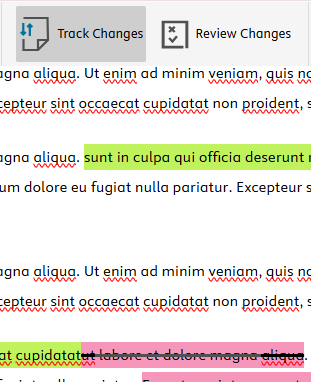
Content highlighted in green are new additions. Content with a strikethrough and highlighted in red have been removed from the chapter.
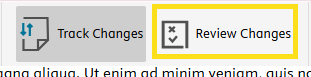
The Track Changes side panel can be opened either by clicking any highlighted text or by using the "Review Changes" button.
The panel will open on the left-hand side of the text, making it possible to have both the Track Changes and the Comments panels open at the same time. The Comments panel will be on the right-hand side of the text (see more about Comments here).
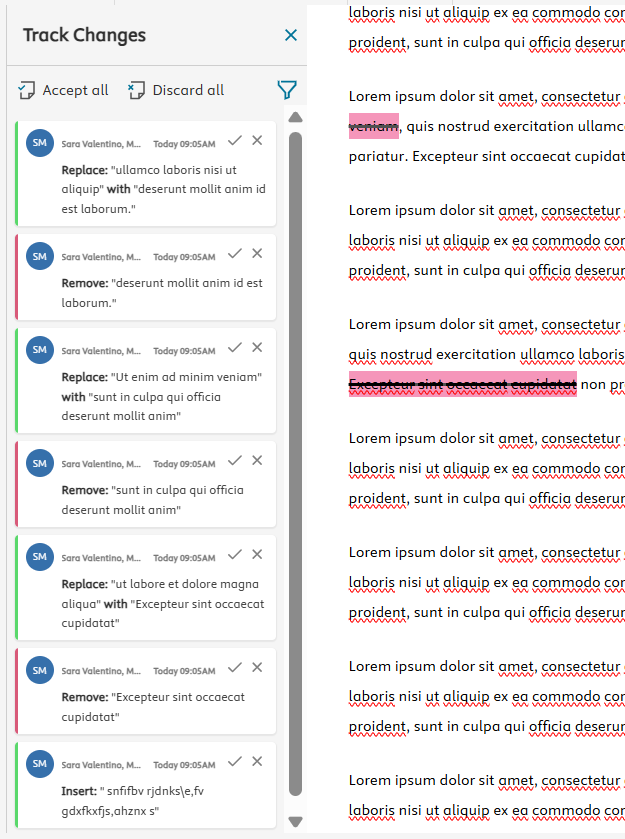
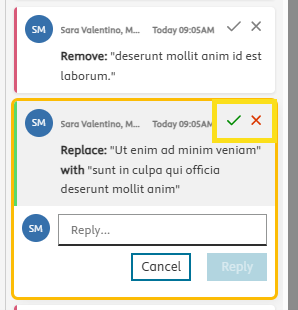
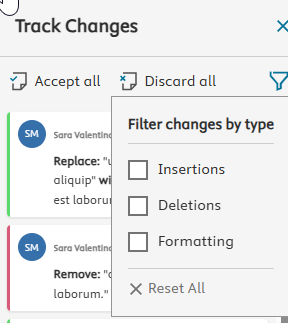
Click each item in the Track Changes panel to review, reply and accept or decline the suggested change.
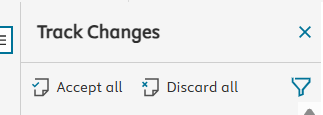
From the top of the panel, you can also accept all or discard all.
The filter function allows you to select which changes to view in the panel.
- To turn off track changes, click on the ‘Track Changes’ button in the top toolbar again. You will still need to resolve the existing changes by accepting or rejecting them. When track changes are off, the button will no longer appear greyed out.
Did we answer your question?
Related answers
Recently viewed answers
Functionality disabled due to your cookie preferences