View by category
How do I import multiple images into a Curated Collection into Image Finder?
Last updated on December 18, 2025
You can import images into a collection in bulk. Importing images can be used when you have identified a number of images in existing publications that you believe can be placed in a collection, especially because you know that they are rights free.
You can search for the images using Image Finder, add them to a cart, and request the original artwork from the archive. The copy of the request cart that you get can be used to help you populate the import CSV file for bulk importing images.
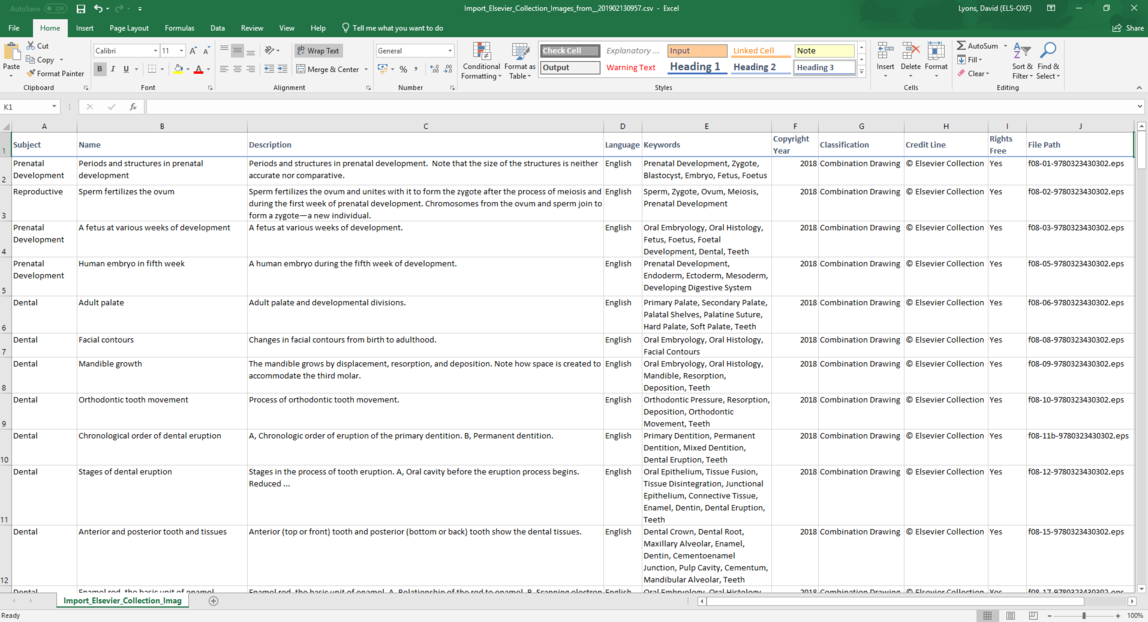
The import CSV file has columns for every property of each image. See How do I upload individual images into a Curated Collection in Image Finder? A sample is shown here.
You need to populate all the cells in the spreadsheet. If you use the template (see step 5 below), there are drop-down lists to help you with some of the columns. You can also use any other spreadsheets functions that you know to help populate the many cells that have the same values.
If you used the cart request spreadsheet as a source of data for your import spreadsheet, please note that the file name extensions are often different in the request (e.g. JPG) from the extensions on the files you actually receive from the Global Books Archive (e.g. EPS). So, make sure you modify the file extensions in the import spreadsheet to match the files that you have received.
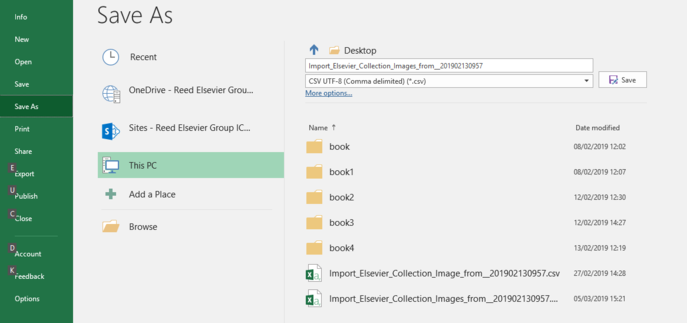
After you have filled out all the cells in the spreadsheet, you need to save the spreadsheet as a UTF-8 CSV file. If you save it in another format, the import will fail.
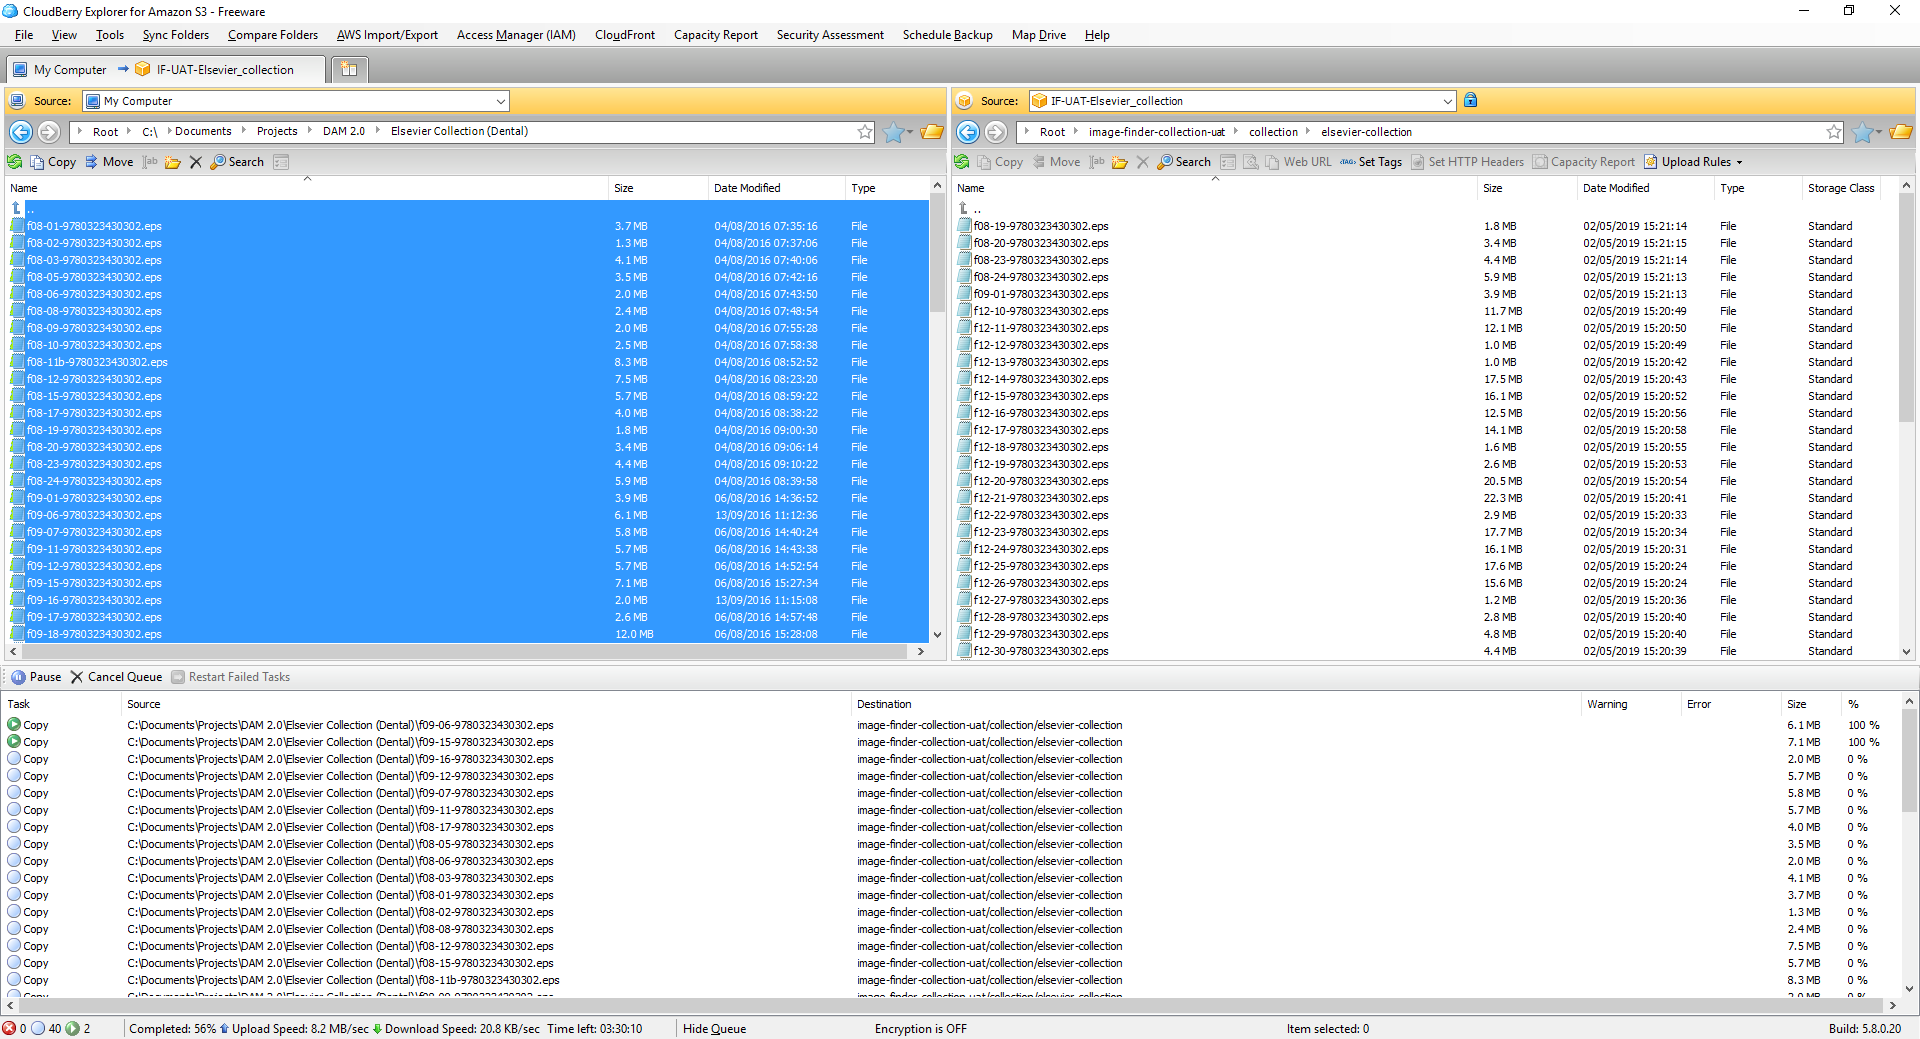
Then you need to copy the files you are importing into the S3 staging bucket that is associated with your collection. You can see the name of this bucket by displaying the Import images pop-up window (see step 1 and step 3 below). To copy the files, you can use a third party utility that provides a file management interface to S3 (e.g. CloudBerry Explorer or Cyber Duck). If you have permission to Import Images, then you also need to have access to the bucket.
Copy the files from wherever you have stored them into the S3 bucket. After the files have been copied, you are now ready to run the import process.
How
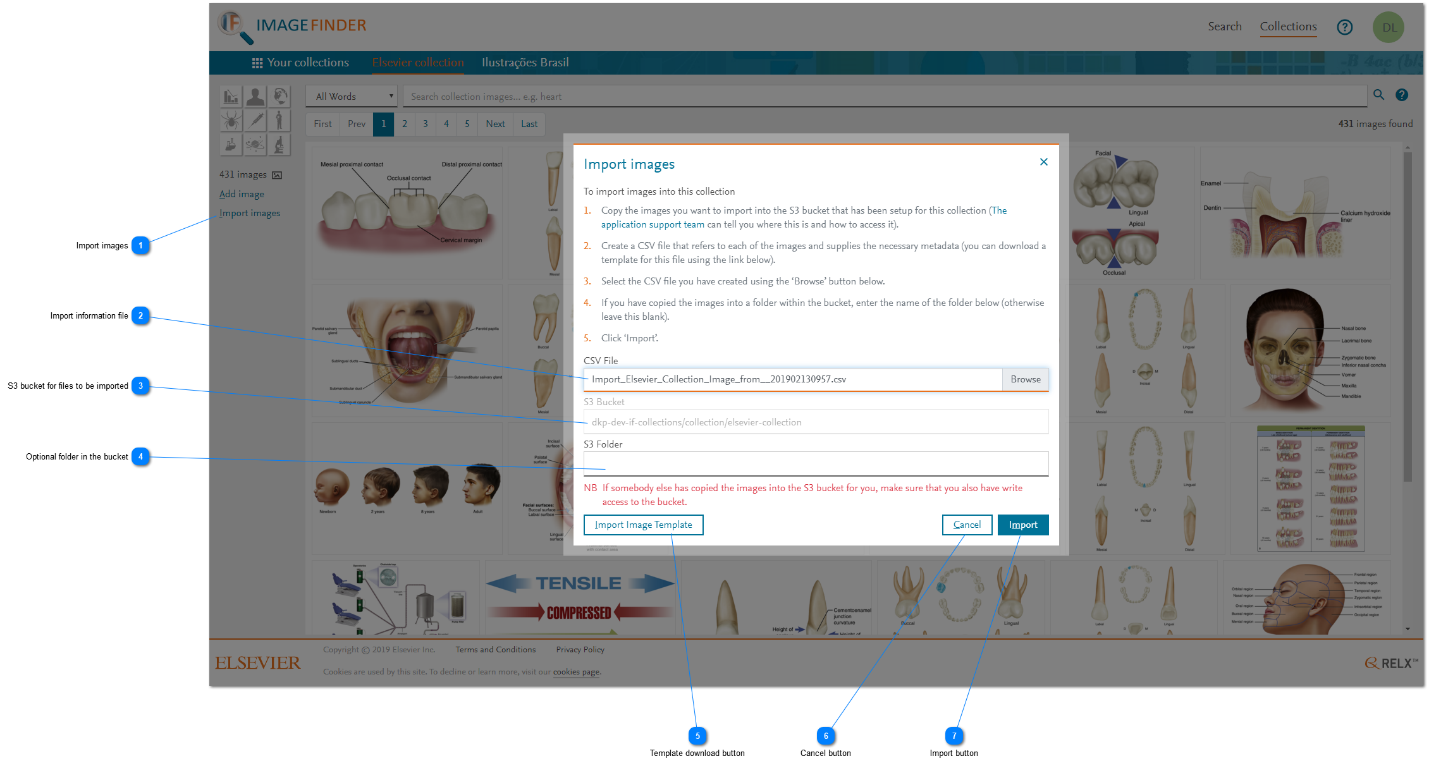
- Import images: To display the Import images pop-up window and start the import process, click 'Import images'.
- Import information file: To select the CSV file that you created earlier, click Browse for the CSV File field.
- S3 bucket for files to be imported: The S3 Bucket field shows the path name of the S3 bucket that is associated with your collection. You need to copy those image files, which were named in your CSV file, to this location.
- Optional folder in the bucket: If you have multiple imports planned and you want to keep track of them individually, you can create folders in the S3 bucket and copy your files into those folders instead. In this scenario, you need to add the names of the folders that you are using in the S3 Folder field.
- Template download button: When you are ready to create the import CSV file, click Import Image Template to download a copy of the template spreadsheet. You can use this template as a starting point for creating the CSV file. You can also create a partially populated CSV file from a cart request.
- Cancel button: If you want to cancel the import process, click 'Cancel. None of the images are imported.
- Import button: To start the import process, click 'Import. The import process is run synchronously and displays errors, if it fails. The most common failure is caused by a import file in the wrong format. Make sure that the file is a comma delimited, UTF-8, CSV file. Other errors are displayed in the progress grid. The import works on an all or nothing basis.
You may have asked somebody else to copy the images into the S3 bucket for you. As the images are processed and uploaded into the collection, they are also removed from the S3 bucket, in order to ensure that the staging area is kept clean and avoid confusion about what has been uploaded and what has not. Consequently, you must also have write access to the S3 bucket. If you have any problems, please contact us using the Email option at the bottom of this page.
Did we answer your question?
Related answers
Recently viewed answers
Functionality disabled due to your cookie preferences