View by category
How do I add a figure from an image not found in Image Finder into a chapter in a Figures List?
Last updated on December 18, 2025
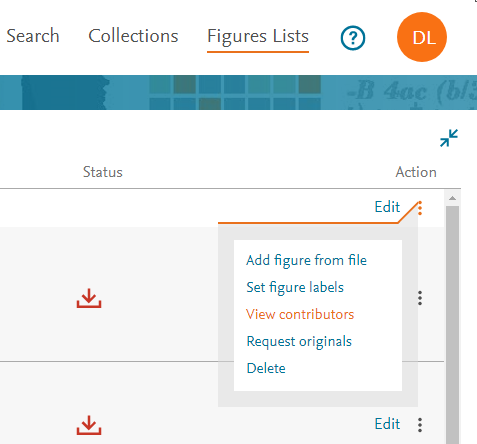
You can add an image that you already have the file into a figures list. To do this, click the vertical ellipsis of a figures list and select the 'Add figure from file' option from the menu.
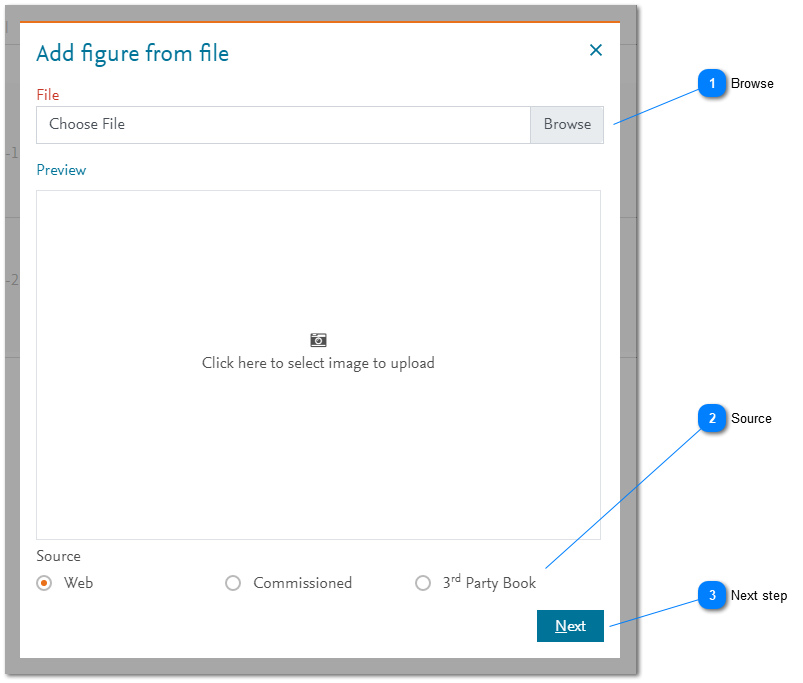
Fill in information of the image in the 'Add figure from file' pop-up window. Different image sources require different information about the image. The 'Add figure from file' pop-up window is shown below.
How
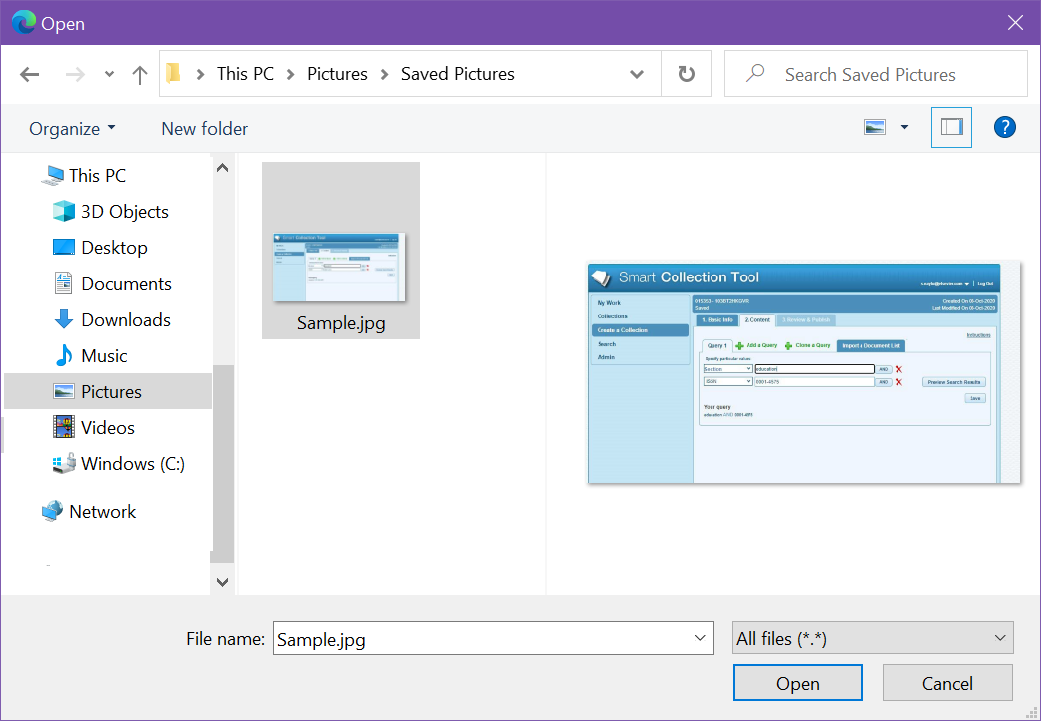
- Browse: Click the 'Browse' button or click inside the 'Preview' area to display the 'Open' pop-up window for your Web browser. Find and select the image that you want to include in the selected figures list. The selected image is displayed in the 'Preview' area.
- Source: Select where the selected image came from. Declaring the provenance of the image is a critical part of ensuring that you have or can get the relevant permissions to use the image in your project. If you fail to provide accurate information, you may find that you are not allowed to use the image.
- Next step: Click 'Next to navigate to the next step. The information that is displayed depends on the 'Source' selection that you made in step 2 above.
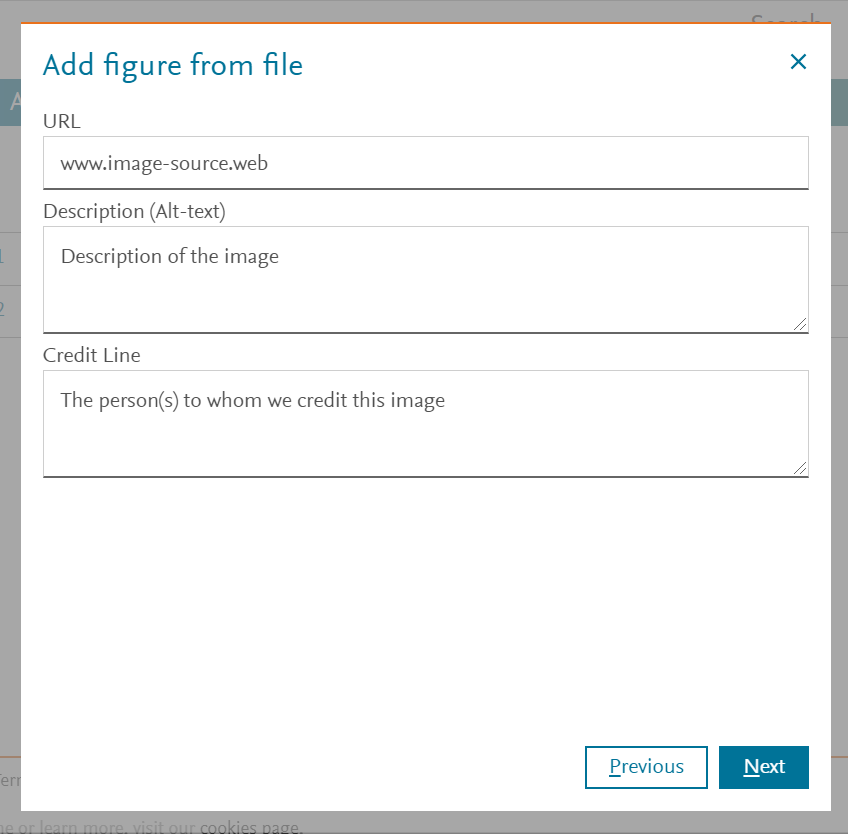
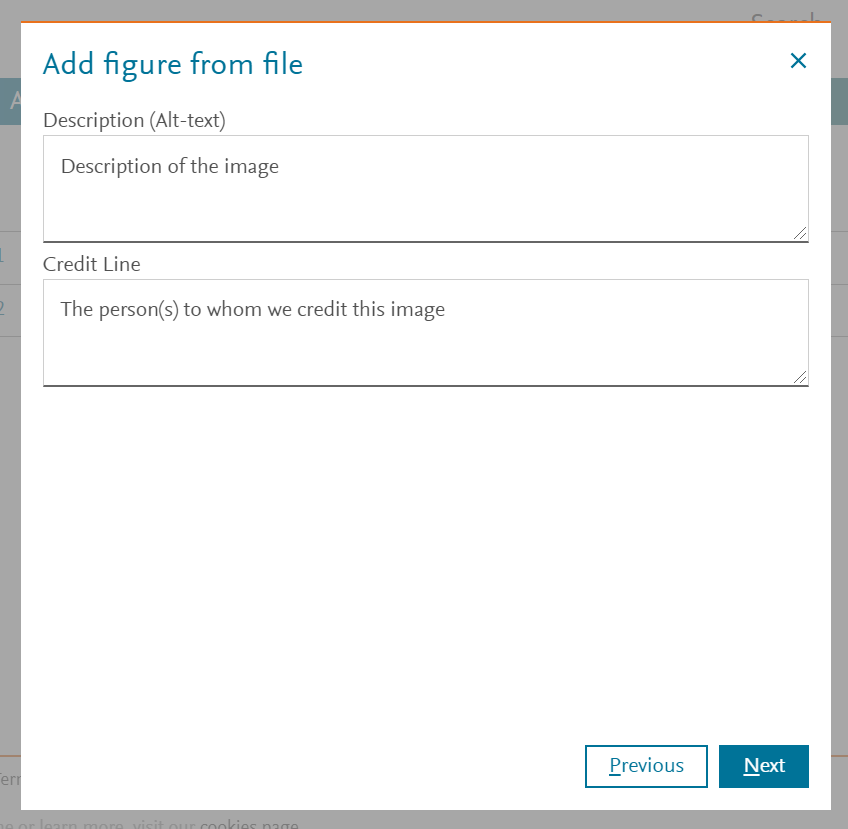
If you specified the image came from a web site, you need to enter the URL of the web page where you found it and any information you have about who should be credited. This information helps permissions seekers to ensure that you have the relevant permissions to use this image in your project. The description may be used to improve accessibility to the image in this project or other contexts and is a description of the content of the image, as opposed to the caption that may be used.
If you specified the image was commissioned, enter a description and credit line (as described in 'Web source' above).
If you specified the image came from a third party book, provide information about the book and the figure in the book. This information is important for the permissions seekers to be able to ensure that you can use the image.
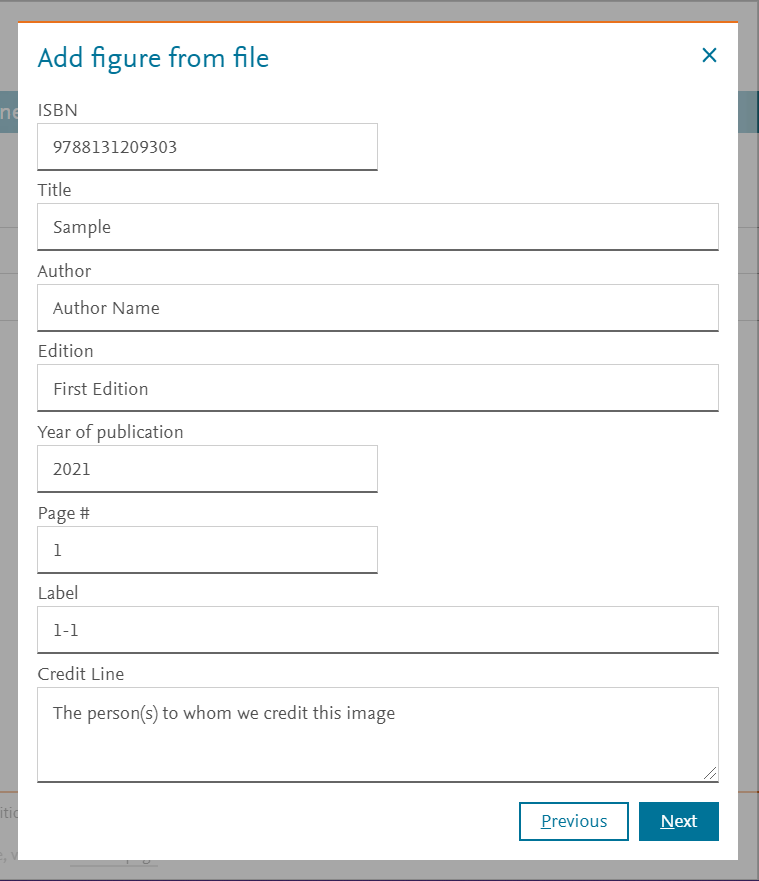
After you have entered the source information, click 'Next' and the final step of the 'Add figure from file' pop-up window is displayed.
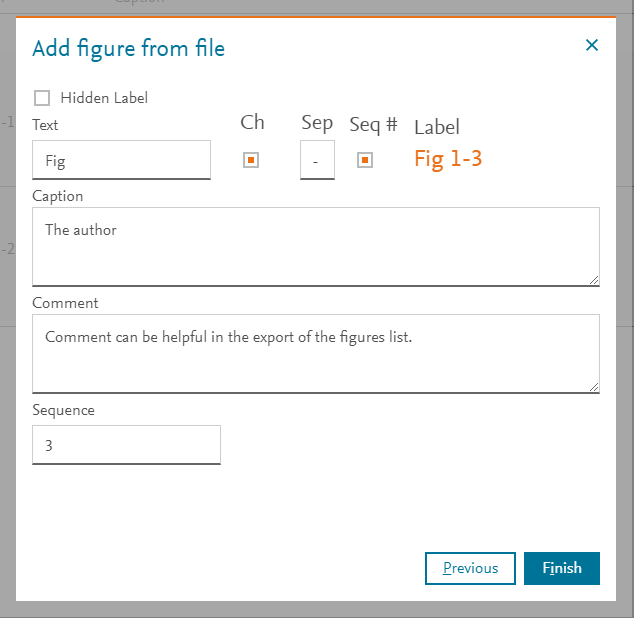
The final step in the 'Add figure from file' pop-up window enables you to specify how the figure is annotated in your project.
Did we answer your question?
Related answers
Recently viewed answers
Functionality disabled due to your cookie preferences