
Moodle – Osmosis LMS Access Set-up Instructions
Last updated on July 27, 2026
Step 1- Register a new External Tool
As an admin, you can configure an external tool from the Site administration page.
Navigate to Site administration > plugins > activity modules > external tool > manage tools.
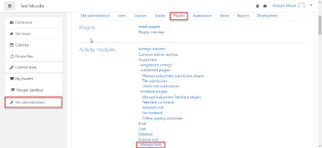
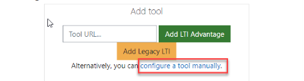
Click “Configure Tool Manually”
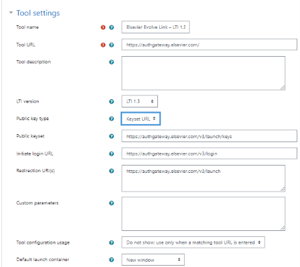
- Manually enter (Copy/Paste) the required parameters and permissions
- Tool name: Osmosis LTI 1.3
- LTI Version: Select LTI 1.3
- Public Key Type: Select “Keyset URL” from the drop-down
- Public Keyset: https://authgateway.elsevier.com/v3/launch/keys
- Initiate login URL: https://authgateway.elsevier.com/v3/login
- Redirection URI(s): https://authgateway.elsevier.com/v3/launch
- Custom Parameter: Leave Blank
- Tool Configuration Usage: Do Not Show; use only when a matching tool URL is entered.
Default Launch Container: New Window
- Click on the dropdown for Services
- IMS LTI Assignment and Grade Services: Use this service for grade sync and column management
- IMS LTI Names and Role Provisioning: Use this service to retrieve members' information as per privacy settings
- Tool Settings: Select Use this service
- Click on drop-down for Privacy
- Share Launcher’s Name with Tool: Always
- Share Launcher’s E-Mail with Tool: Always
- Accept Grades from the Tool: Always
NOTE: Check the Force SSL box if you are running into a blank page
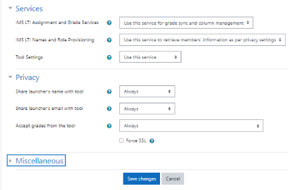
- Click Save Changes.
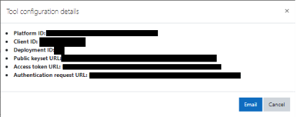
Click on the Menu icon like the one shown below for the Osmosis LTI 1.3 Tool to view configuration details
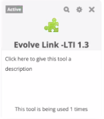
Copy and share all these values with Elsevier.
Step 2- Setting up a link to grab URLs
- In the desired Moodle course, click “Turn Editing On
- Click on add an activity or resource under the desired module.
- Click on External tool.
- Activity Name: Osmosis LTI 1.3
Click Save and Return to the course.
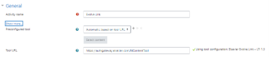
- Click the Edit button next to Osmosis LTI 1.3
Click Hide.

Did we answer your question?
Recently viewed answers
Functionality disabled due to your cookie preferences